Please note that each business’s set-up is slightly different — if the instructions below don’t work for you, please reach out to your Avoca Customer Success Manager, or to 3CX customer support, and ask them for assistance!
Setting up Avoca for after-hours
Log into your 3CX and navigate to Settings in the black left-most bar. Then, click “Call Forwarding” and “Away”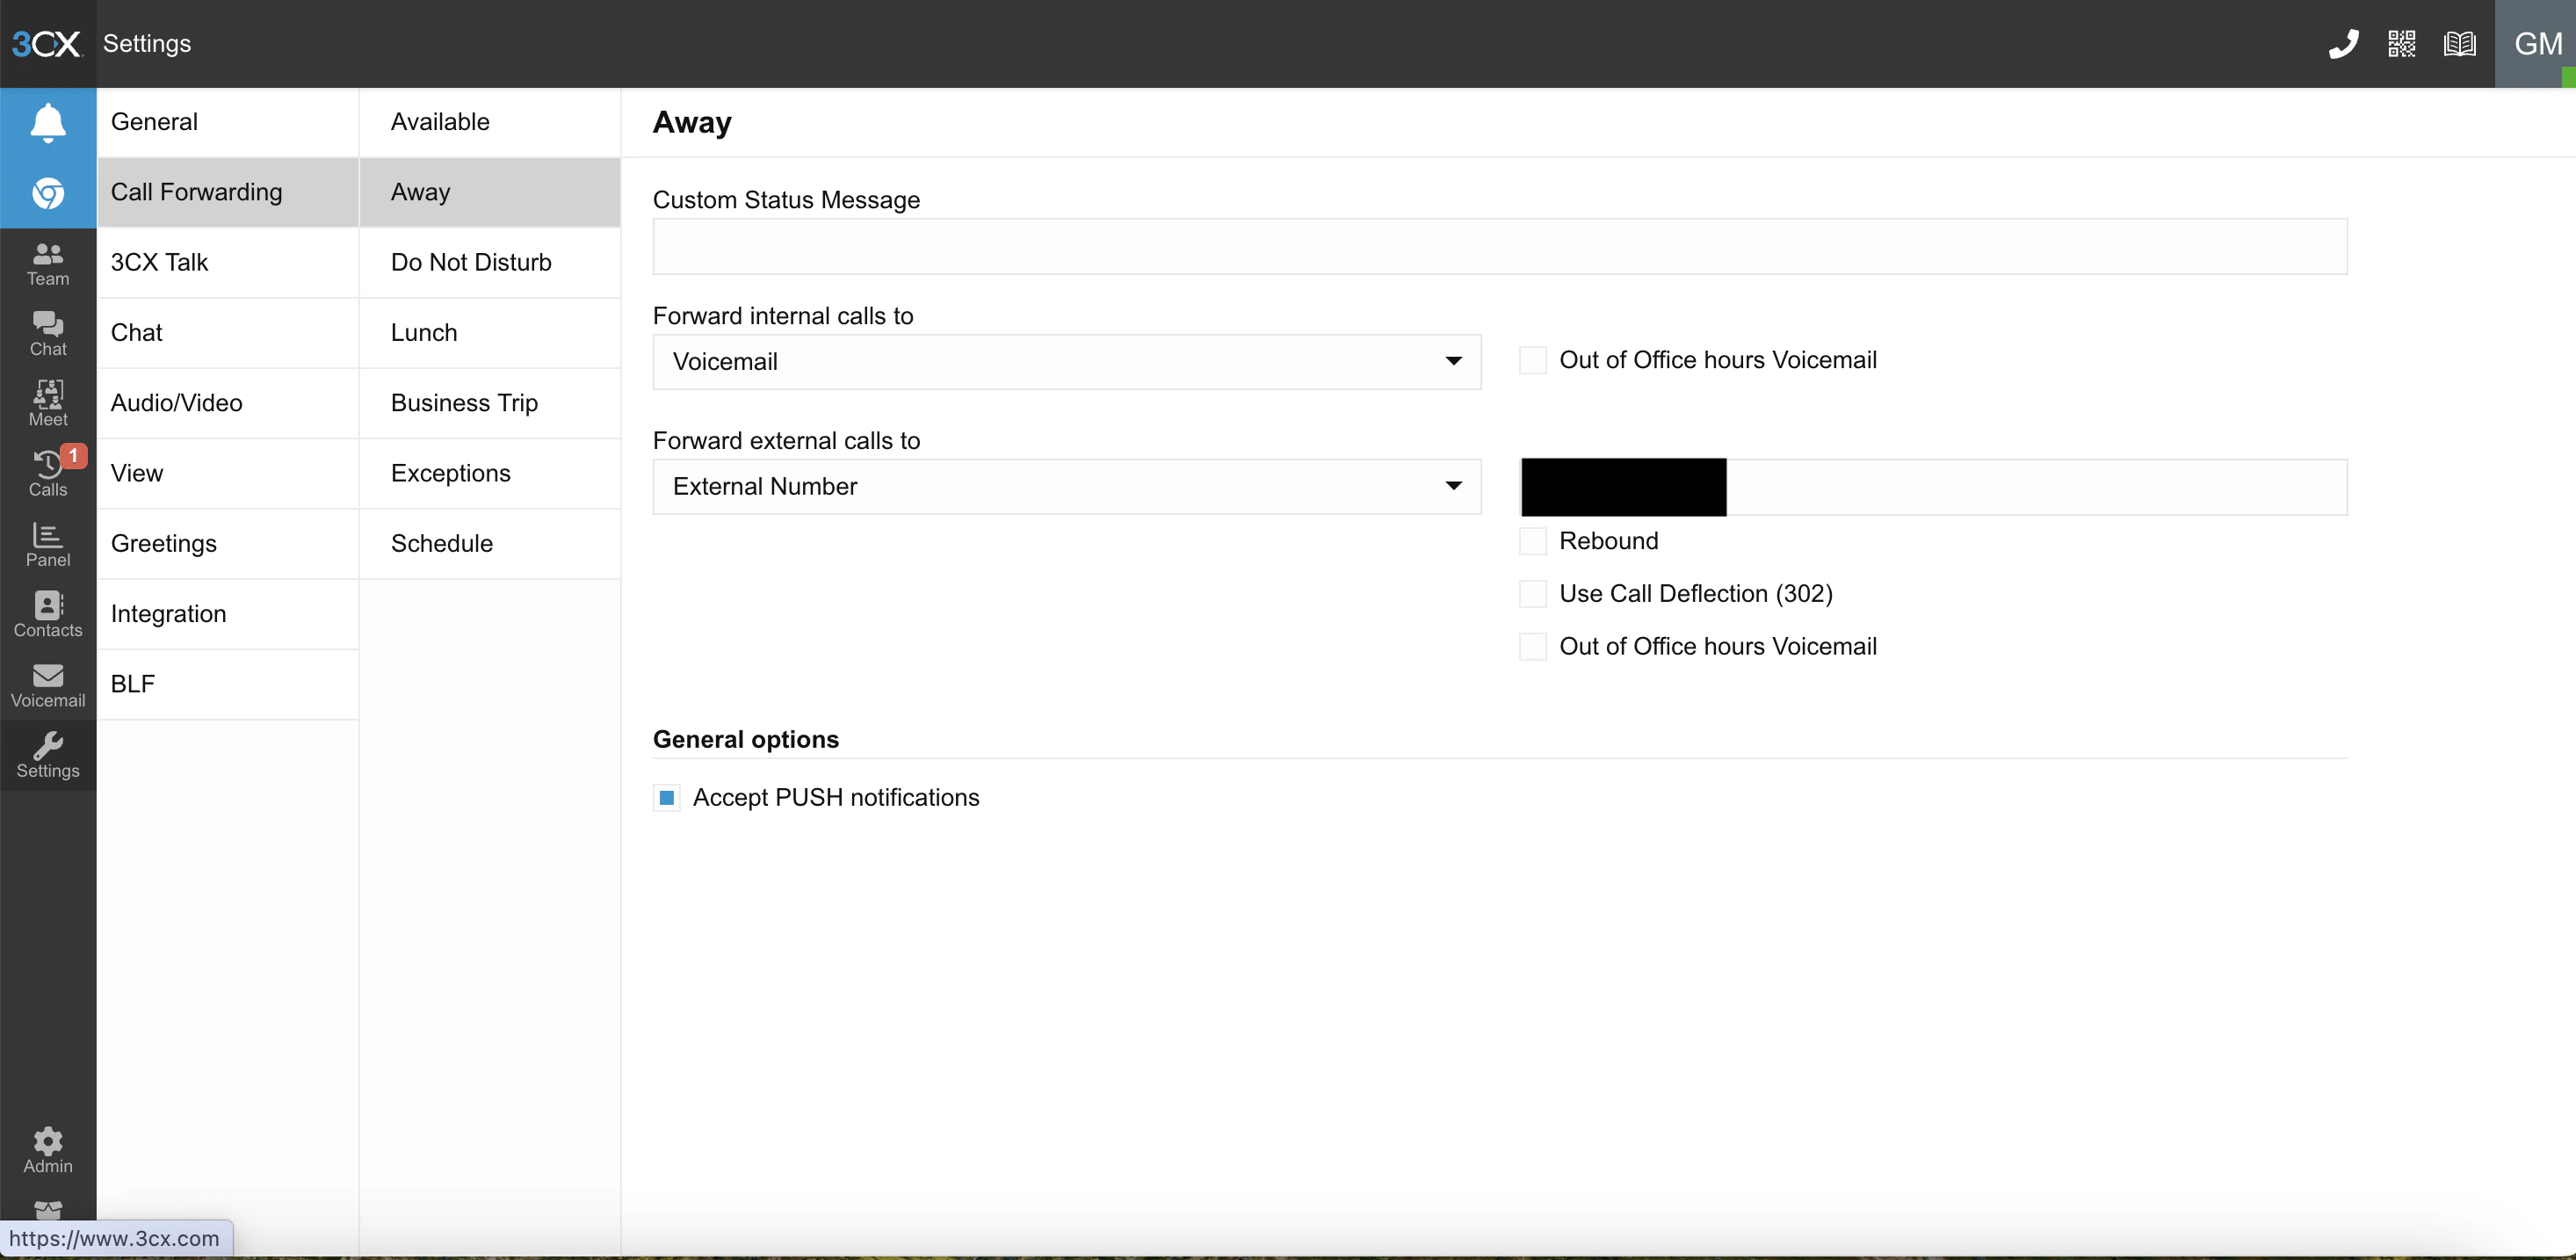
Open the “Forward external calls to” window and select “External Number”. In the window to the right of the box, enter the bot’s phone number.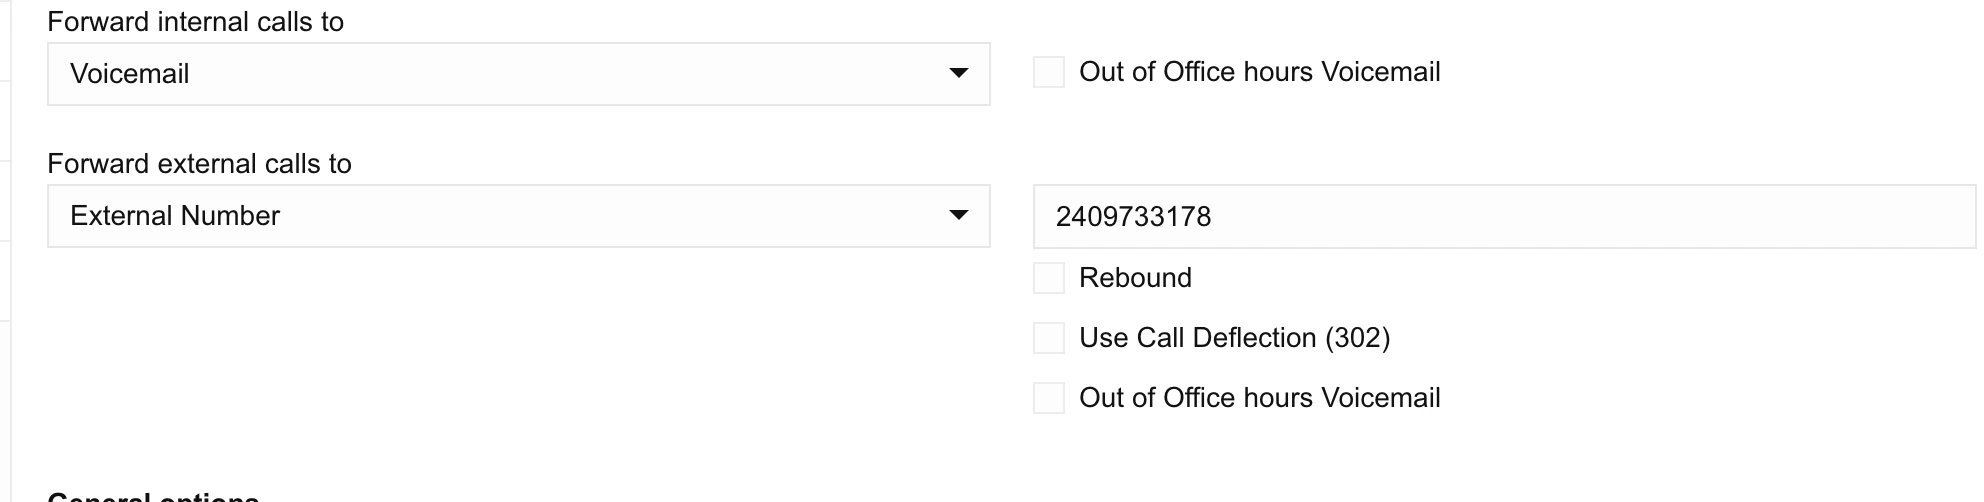
Changes will be saved automatically, but refresh your browser page and make sure the number is still there and the settings are the same
Repeat step 2 with “Do Not Disturb”, “Lunch”, and “Business Trip”. (For each one, open the “Forward external calls to” window and select “External Number”. In the window to the right of the box, enter the bot’s phone number.) This will ensure you’re forwarding to Avoca in all cases after-hours.

Setting up Avoca for overflow
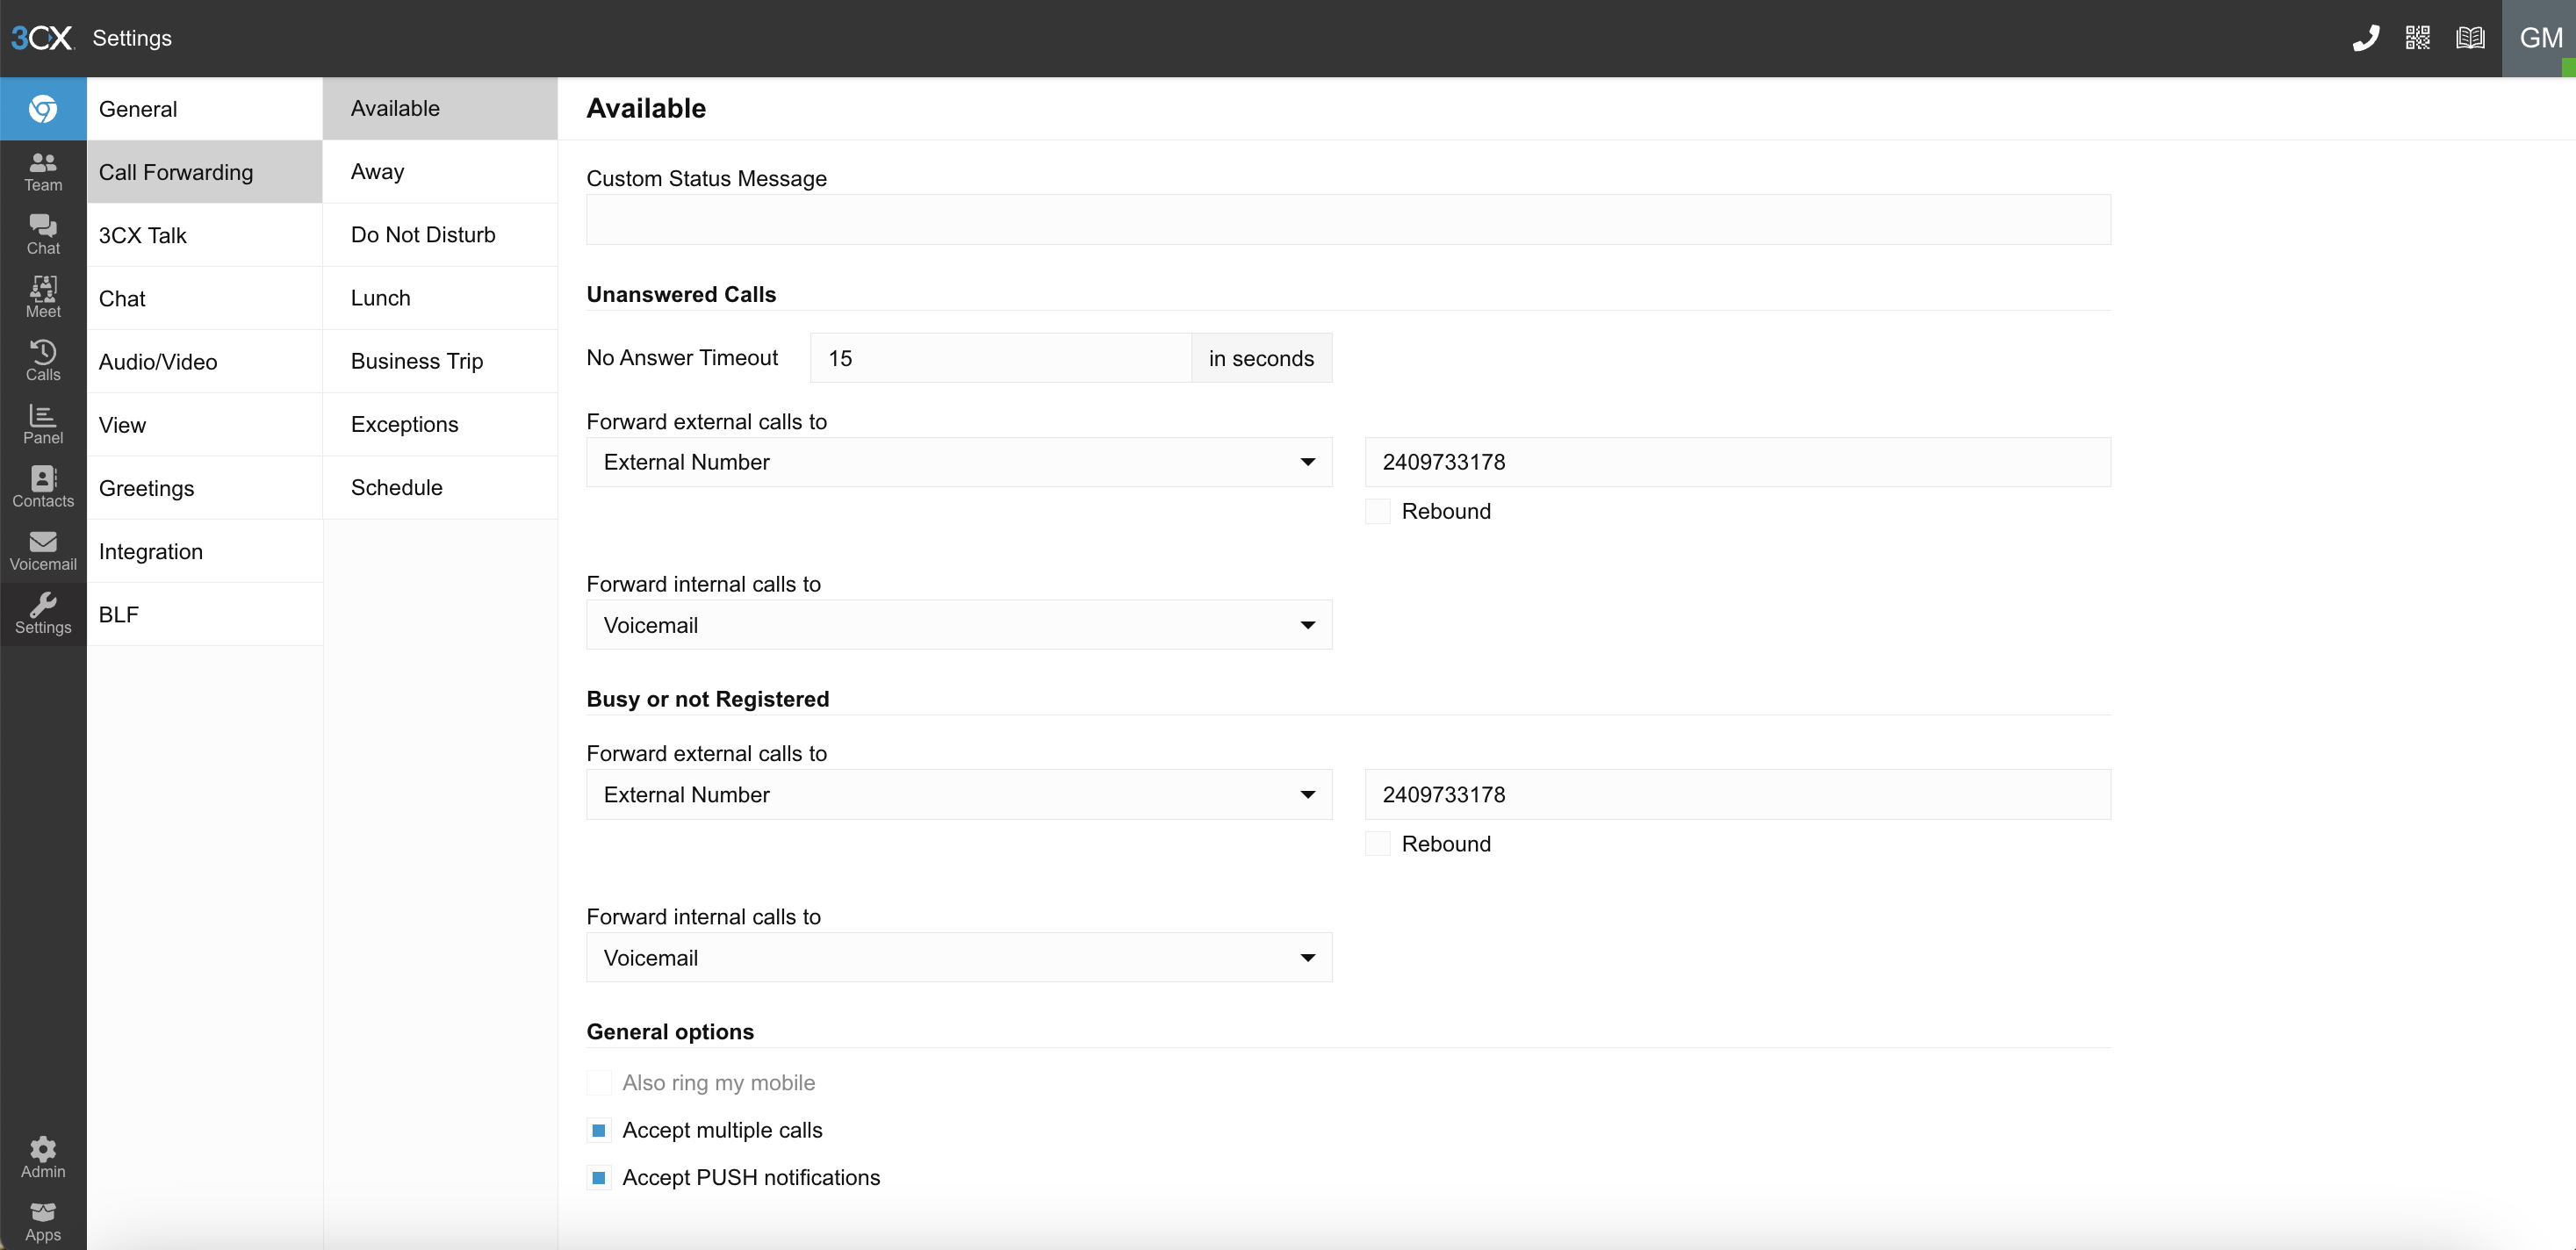
Under Unanswered Calls, set No Answer Timeout — our best practice is typically to around 15-20 seconds, but you can make this as long as your preference. This is the period your phone will ring during business hours so your CSRs can pick it up before any overflow goes to Avoca.
Under Unanswered Calls, click the “Forward external calls to” window and select “External Number”. In the box to the right, enter the bot’s phone number.
Under Busy or not Registered, click the “Forward external calls to” window and select “External Number”. In the box to the right, enter the bot’s phone number.